Frolic

Monday, June 27, 2022

How to Miter Corners for Placemats the EASIEST POSSIBLE WAY! (I Promise!)

 So, I watched a few YouTube tutorials on how to make mitered corners for placemats, and all I could think was that it really shouldn't be THAT complicated.  And guess what - it really isn't!  


They always say give a task to a lazy person and they will figure out the easiest way to do it, so here is me waving my hand and volunteering!  


My mom gave me some vintage linens and asked if I could make them into placemats.  I cut out the cute embroidered parts (the Days of the Week) and chose a green gingham for the back/border.  Then I figured out the E-Z way to miter it.

1.  Figure out the width of your border and cut your backing accordingly.  Here I am allowing 2" because the finished border itself will be 1-1/2" + a 1/2" hem.

So, I have cut the backing 2" bigger than the main fabric all around.

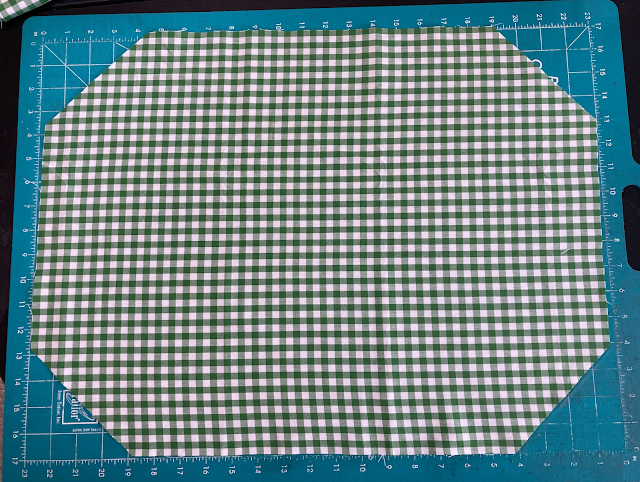
2.  Now double the width of your border - so 4" in this case - and you will cut out a triangle on each corner with this measurement. 


And it looks like this...


3.  Fold the cut edges of each corner right sides together as shown below 


And turn back your hem allowance on the long edge - I used 1/2" here.  
(The gingham fabric really makes it easy to measure since each square = 1/4")


4. Now sew across that edge with a 1/4" seam allowance


And clip off the point

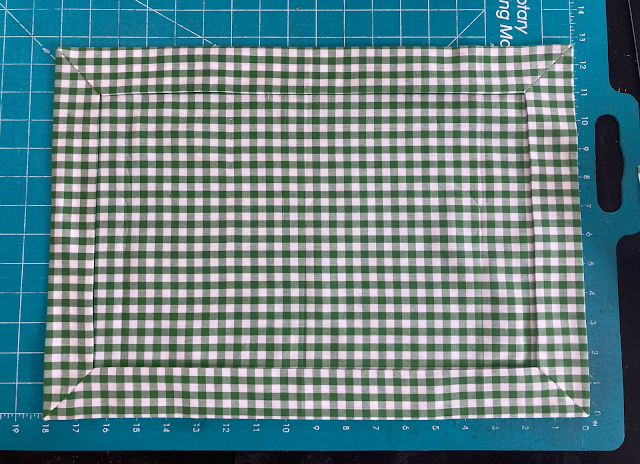
Do this on all four corners and then you will have kind of a "tray" looking piece


5. Turn all the corners inside and poke them out nice and sharp


The edges will naturally roll in, since you sewed your hem down at the corners


6. Press the hem all the way around, and you're done!


Now, insert your main fabric into this mitered "frame" and you can proceed to quilt it or finish it however you like.  And of course you will stitch all around the edges of the opening. 

Honestly, how easy is this?

Sunday, June 5, 2022

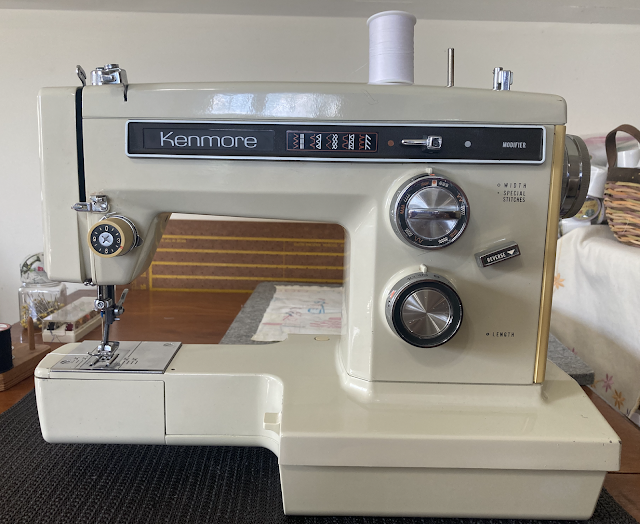
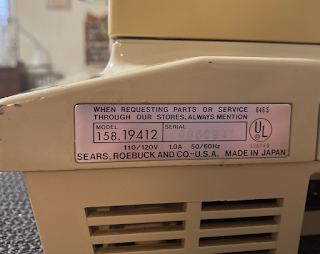
Kenmore 158.1941 - An All-Metal Wonder Machine

So apparently the 158.1941 is one of the last of Kenmore's high-quality, all-metal machines. You've got to hand it to Kenmore, though, they held out at least a decade longer than Singer which rolled out its last all-metal geared machine* in the late 1960s (the early 600 model Touch & Sews.)

Kenmore 158.1941 - a quality, well built, all-metal machine and the end of an era.

A rare all metal American branded free-arm machine


The 1941 has 10 built-in stitches, including reverse stretch stitches (in white) but doesn't take cams.  
Note:  the 158.1760 is exactly the same machine as this one, except that it does take cams. 

Here are the specs for the Kenmore 158.1941

  • 1.0 amp motor
  • Vertical oscillating hook/Class 15 bobbin 
  • Super high shank/Center-homing needle
  • Convertible flat-bed to free-arm
  • 10 built-in stitches, including reverse stretch stitches
  • Presser foot pressure adjustment
  • Feed dog drop
  • Twin needle stitching
  • Dual belt system (gives better torque, eliminates slippage, and maximizes punching power)
  • Easy "slot" threading
  • Pop out clutch release

What it DOESN'T have:

  • L-C-R needle positions
  • Integrated buttonhole stitch***
  • Cams for decorative stitches**
  • Chain stitching**
 
I've gotta say, this machine has some serious chops when it comes to heavy sewing projects.  Looky here...


This is eight layers of denim, and the machine stitches effortlessly - perfect back and front


And the free-arm makes this the perfect machine for hemming jeans.  I didn't even bother to use a hump jumper, and it still sewed right over the seam crossings without skipping a stitch.

It does well with heavy threads - no complaints about stitch quality.

Although I didn't particularly want a super high shank (SHS) machine, I am okay with this one because it did come with all the basic feet.  There are limitations, though. For example, a SHS walking foot or other speciality feet can be hard or impossible to find. 

Basic accessories that came with the machine include a straight stitch needle plate insert, a variety of feet, and Q-needles!

This machine has SHS feet, but one nice thing is that they are very easy to switch out - just pop down that lever in the back and it releases the foot.  Slide the new one in and pop it back up.  (So why do you have to use a SCREWDRIVER to change the needle???)

BOTTOM LINE:  While this is an excellent, high-quality, all metal machine, it does have a few limitations.  It comes with the clumsy Kenmore buttonholer which involves installing a plate with a pinion gear and then attaching the plastic buttonholer guide and inserting a template for your buttonhole sizes.  I've never been crazy about that system, and wish this one had a built-in buttonhole stitch.  

But overall a nice machine, very well built, and sews beautifully - what's not to love?


*the "all-metal" refers to the feed, hook, and top gears, but there were fiber gears in the handwheels of some of these older machines which was almost never an issue

** I have these features on my 1774

*** I have this feature on my 1050