

The buttonholes above were made with the Singer Automatic Buttonholer for slant shank (left) and low shank (right)
I'll start by stating the obvious (given the topic of this blog) which is that the only buttonholes I've ever made are on vintage Singer machines. Therefore, I can't properly compare them to what you'd make on your Viking, Bernina, Janome, or what-have-you. These are strictly the "old fashioned" methods. And if you can't appreciate these methods for the nostalgic value, you can appreciate the cost factor:
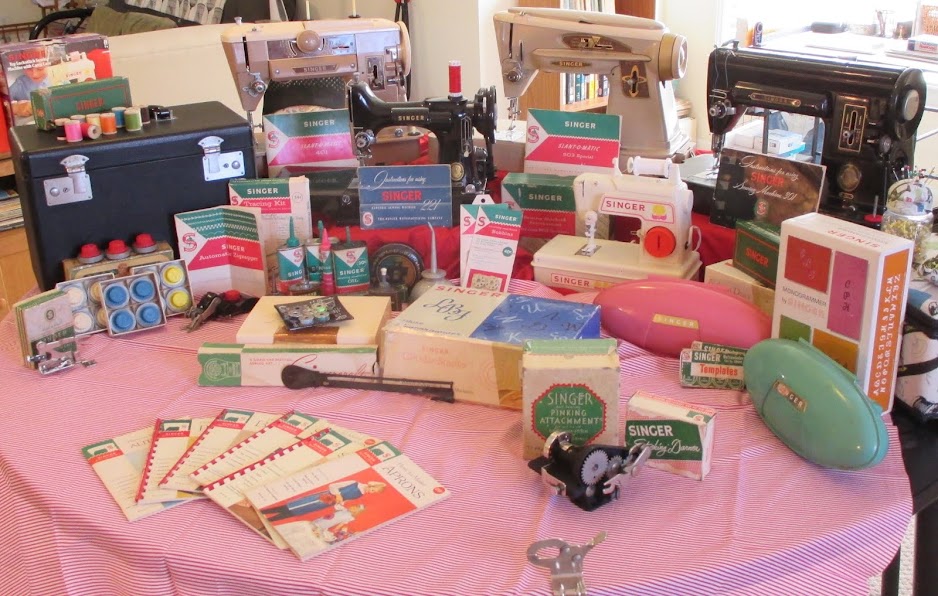
The machines used here range from $20-$50 in price. The Singer Automatic Buttonholer tops out at about $20 on eBay (but you can find them at yard sales and thrift stores for next to nothing if you keep an eye out.) If you have a zig zag model, like one of the Slant-O-Matics, you can use the Singer Professional Buttonholer.
Here are three different methods for making buttonholes on vintage Singer machines:
#1 Singer Automatic Buttonholer (the different versions are explained in more detail HERE)

Let's try it on the Singer 237

I'm showing the feed cover plate that comes with the buttonholer. But I never use it. After snapping this photo, I tried to make a buttonhole and promptly broke the needle, even after carefully adjusting the plate so the needle wouldn't hit it. These plates shift around too much no matter how carefully you screw them in. So if your feed dogs don't drop, like on this older 237, just set your stitch length to Fine or "0" and don't worry about it. (I do this even when using my Featherweight.)

Here's the cam in place in the attachment, I chose the keyhole

Buttonholer attached to the machine and ready to stitch. The set up does take a couple of minutes to haul it all out and install it on your machine, but if you're doing a whole row of buttonholes, it's worth it (for one or two, I might not bother, though)
Once it's on, the stitching is fast and easy - I usually go around twice to get a nice, dense stitch. This whole row of buttonholes took only about five minutes after I got it all set up.
 Here's a close up of one of the keyholes I made in the video

#2 With a slant shank zig zag machine (I use this on my 401 or Touch & Sew), you can use the Automatic Buttonholer (above) set on straight stitch, since the gadget moves the fabric back and forth to make the satin stitch. But if you can find one, the Singer Professional Buttonholer uses the machine's zigzag stitch so the process is a little smoother and finer.

It works very much the same as the straight stitch buttonholer, but since the machine makes the zigzag stitch, it isn't quite as "clunky." And very nice results!
#3 Finally, the most basic method is the 4-step "manual" buttonhole - with or without a buttonhole foot.
I want to clarify that a buttonhole foot like this is intended to be used with a machine with an automatic buttonhole stitch. This machine doesn't have that so I just used it to guide my otherwise "manual" 4-step buttonhole without having to make the measurements on the fabric.
Below are a few various samples:

Made on Singer 401. Top: manual 4-step, and Bottom: Automatic Buttonholer
  |
| Manual 4-step buttonholes from Singer 237 (left) and Singer 354 "Genie" (right) These were both made free-hand WITHOUT the buttonhole foot |


