
I've spent more time recently collecting sewing machines and gadgets than actually sewing, so I dusted off an old pattern that's been in my collection for a while now. I liked it so much, I made it twice!

Butterick 5861, View D


The first is an inexpensive lightweight cotton shirting I bought at JoAnn.

I enjoyed making the tucks and also playing with the stripes

Tuck detail - notice the tucks are CURVED. The stripes help point this out.


The back detail is a little different. These loose tunic tops are often shapeless and baggy in the back and this makes it a little more fitted. You sew rows of shirring with elastic thread between the darts.
I sewed this blouse on my recently acquired Kenmore 1760 which is my "new favorite" machine.

Kenmore 158.1760
As for the construction, this is a simple pattern, very easy to sew. It is a little time consuming to make the tucks and shirring, but those details add to the interest so I enjoyed the process. Once those two details are done, the rest goes together quickly - it even has easy raglan sleeves for those who hate to do set in sleeves.
However, there is a mistake in the pattern which will slow you down if you're not aware of it. The illustration shows the shoulder yoke applied BACKWARDS. The longer, sloped edge goes to the front of the garment (corresponding with the single notch) and the shorter perpendicular edge goes to the back (corresponding with the double notches). The illustration in the instructions shows it completely opposite.

Another mistake in the instructions concerns the neck binding. You cut a 1-1/2" bias strip then you are directed to press one edge in at the seam line (5'8") and trim it to 1/4". Then you sew the binding onto the neckline with a 5/8" seam allowance, and turn the folded edge over the seam. WRONG! Simple math tells you it isn't possible, since 5/8" x 2 = 1/1-4" That leaves barely 1/4" to cover the seam edge - it won't work. Take my word for it: press one edge in 1/4" (do NOT trim anything!), sew the strip onto the neckline with your 5/8" seam allowance, trim the seam to 1/4", and your binding will fold over and cover it perfectly and look just like the illustration.
(Ditto the binding on the cuff - I did NOT trim the strip as directed and it was perfect.)
Speaking of cuffs, this is where that free arm really shines!
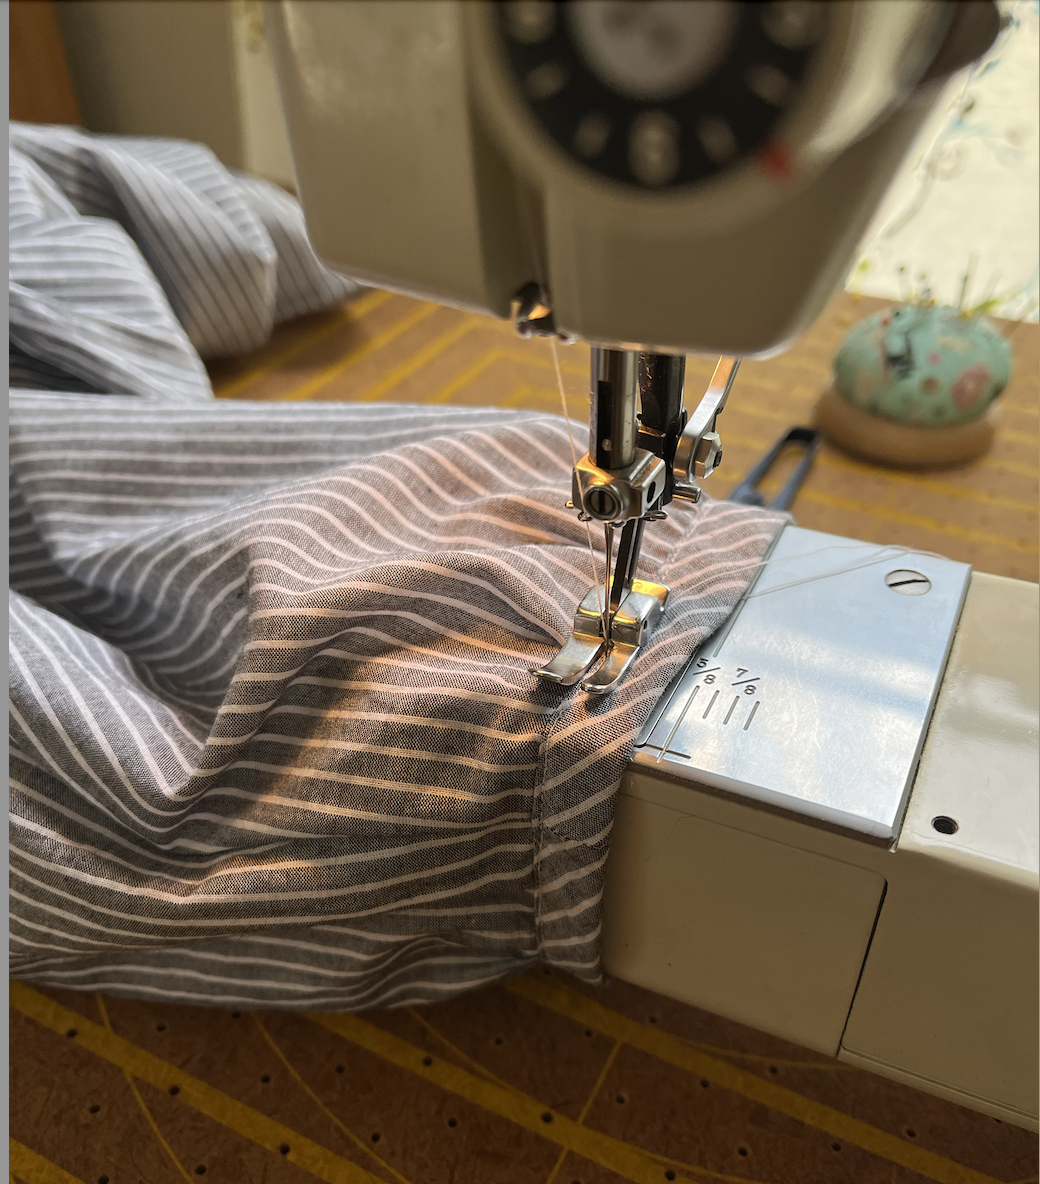
I have to admit, this is a pretty nice feature
Beautiful liberty top. Every time I go to London I visit Liberty off of Regent Street and take in all the fabric. The building is just as beautiful as the fabric selection.
ReplyDelete