
I make a lot of bags and this is an application I use frequently to make zipper pockets. Use the dimensions given in your pattern, but this is also easy to adapt to any size zipper and pocket you want.

The basic pieces are as follows:
- The fabric to which you are adding the pocket
- A lining
- A zipper

(NOTE: If the lining piece is a little larger than this, it is fine. I usually measure only roughly, because you can trim the excess away after sewing in the zipper.)
STEP ONE
 |
STEP TWO  |
Stitch around this rectangle with a short stitch length. You can go back and reinforce the corners with a second stitching, but keep this as exact as possible
STEP THREE

Now you'll cut those inside lines. Cut right up in the corner as close you can get without cutting the stitching.
STEP FOUR

Turn the lining through the opening to the back side of the main fabric and press well both back and front. Now you have the opening for your zipper
STEP FIVE

Use a glue stick to attach the zipper to the back side or else hand baste.
STEP SIX

Stitch around the opening close to the edge

on back side fold up the lining, matching edges, to form the pocket
STEP SEVEN

With the piece right side up, fold the main fabric in at the seam lines, as shown, and
stitch around the stitching line, beginning at lower left corner.

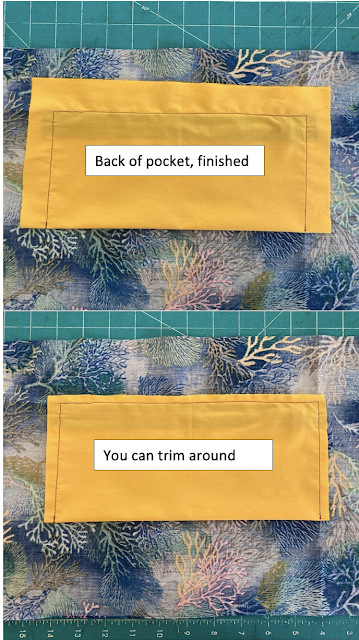
Pocket is done, and you can now trim away any excess seam allowance

Now make that into a pouch to hold your MacBook or other device!

No comments:
Post a Comment