Frolic

Showing posts with label Projects. Show all posts

Monday, May 6, 2024

Denim Shorts - Trying Something New

 Trying to switch up my sewing a little bit and tackle a new challenge.  I went on a brief but furious quilting frenzy recently and churned out four quilts in a couple of months (none of them intricate or exceptional, but good enough for me to say I made quilts!) 

I've made bags galore, some of which I've posted here. I've made doll clothes (ditto.). I've sewed costumes, dresses, and blouses.  Then - seeking a new challenge - I decided to sew JEANS!

I started with denim shorts, so I could learn some of the techniques on a smaller project.  Basically it's all the same thing, except for the length, after all.

Didn't do in seam pockets, I'll save that technique for another project. 

For this project I used my beloved Kenmore 1760 which is about the most rugged machine I have.  And it even did the decorative stitching on the back pockets.


The only thing this machine can't do well is a buttonhole, and I had some trouble with this (long story, I'll skip it for now). I got the job done, after several passes and it looks kind of chewed up but it is what it is.


The main new thing I learned was how to sew in a fly.  The directions with my pattern didn't explain this well, and I even had trouble after looking up several tutorials.  I am practically dyslexic when it comes to Right and Left especially when my instructions sometimes said to do something "on the right side" meaning right versus wrong as opposed to right versus left.  

After ripping it out several times when it didn't come out "right" (meaning correct) I finally figured it out for myself but I STILL don't think I got it right because my lap is on the wrong side.  Sigh...


There was a little struggle sewing down the belt loops at the end - very last step and I almost lost it!  But when I folded up a scrap piece of denim and sewed across that and onto the end of the belt loop it worked perfectly.  Yes, I had to go back and pick out the stitches on the leader fabric, but that wasn't too bad for the result I got. 

And there it is - not perfect, but okay I guess.  I could call this a "muslin" in the sense that it was a practice project.  I may or may not graduate into making a full pair of jeans right away, but at least I know I have learned how to do the most difficult construction techniques and I know my Kenmore can handle it. 


Sunday, February 12, 2023

Review for Butterick 5861


I've spent more time recently collecting sewing machines and gadgets than actually sewing, so I dusted off an old pattern that's been in my collection for a while now.  I liked it so much, I made it twice! 

Butterick 5861, View D


The first is an inexpensive lightweight cotton shirting I bought at JoAnn. 

Then after my "working muslin" I made the second top out of pricey Liberty Tana lawn. (I probably wouldn't have paid as much for a blouse RTW as I paid for this fabric!)

I enjoyed making the tucks and also playing with the stripes

Tuck detail  - notice the tucks are CURVED.  The stripes help point this out.


The back detail is a little different. These loose tunic tops are often shapeless and baggy in the back and this makes it a little more fitted.  You sew rows of shirring with elastic thread between the darts.

I sewed this blouse on my recently acquired Kenmore 1760 which is my "new favorite" machine. 
Kenmore 158.1760

As for the construction, this is a simple pattern, very easy to sew. It is a little time consuming to make the tucks and shirring, but those details add to the interest so I enjoyed the process. Once those two details are done, the rest goes together quickly - it even has easy raglan sleeves for those who hate to do set in sleeves.

However, there is a mistake in the pattern which will slow you down if you're not aware of it. The illustration shows the shoulder yoke applied BACKWARDS. The longer, sloped edge goes to the front of the garment (corresponding with the single notch) and the shorter perpendicular edge goes to the back (corresponding with the double notches). The illustration in the instructions shows it completely opposite. 


Another mistake in the instructions concerns the neck binding. You cut a 1-1/2" bias strip then you are directed to press one edge in at the seam line (5'8") and trim it to 1/4".  Then you sew the binding onto the neckline with a 5/8" seam allowance, and turn the folded edge over the seam.  WRONG!  Simple math tells you it isn't possible, since 5/8" x 2 = 1/1-4"  That leaves barely 1/4" to cover the seam edge - it won't work. Take my word for it: press one edge in 1/4" (do NOT trim anything!), sew the strip onto the neckline with your 5/8" seam allowance, trim the seam to 1/4", and your binding will fold over and cover it perfectly and look just like the illustration.

(Ditto the binding on the cuff - I did NOT trim the strip as directed and it was perfect.)

Speaking of cuffs, this is where that free arm really shines!
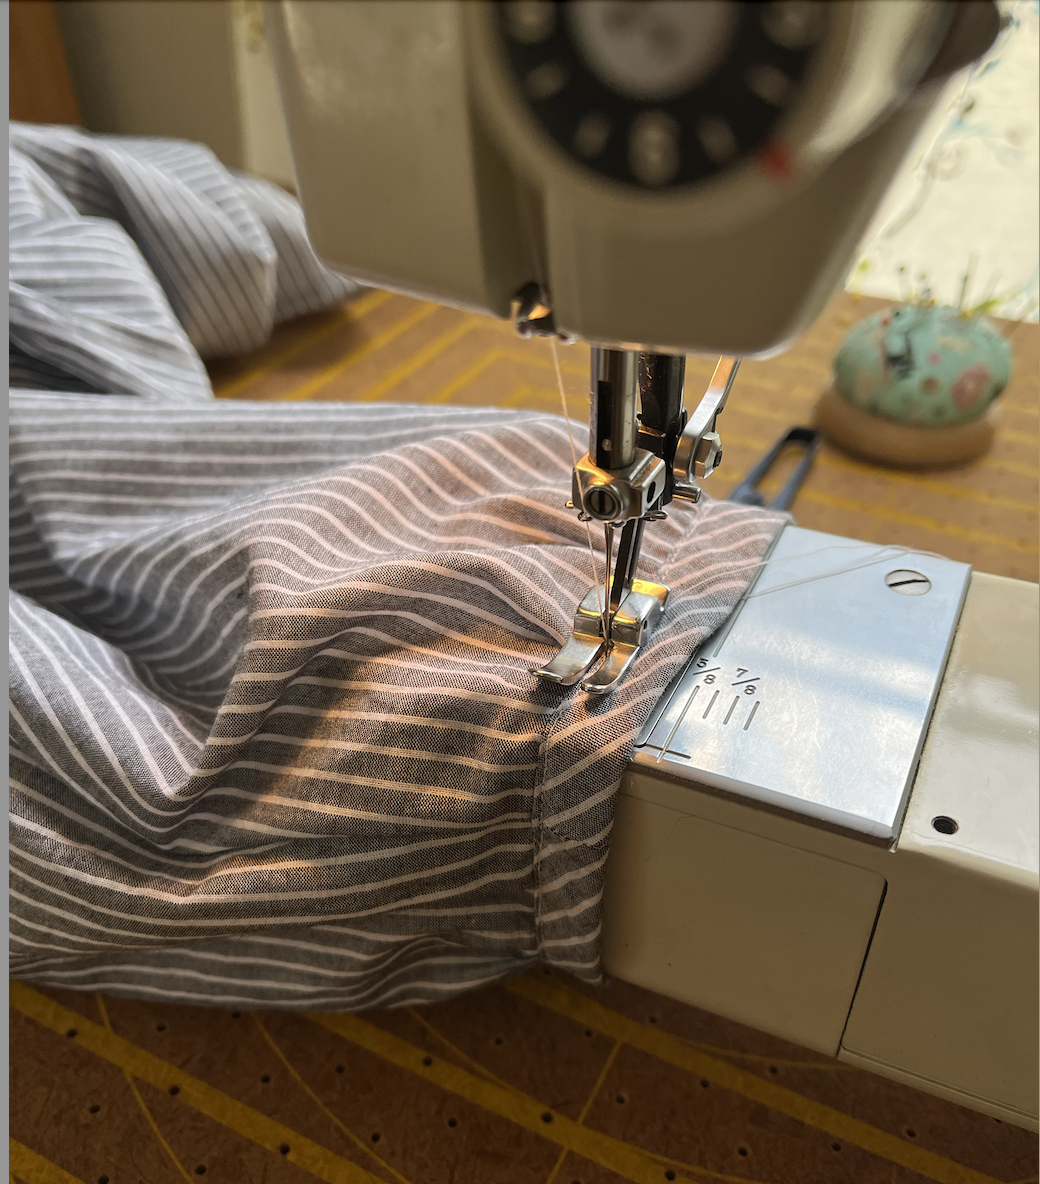
I have to admit, this is a pretty nice feature


Friday, February 4, 2022

Reclaimed Stitches


No two are the same, because all items are fabricated from various remnants and recycled materials including vintage fabrics, trims, buttons, and zippers.  (New fabrics and hardware are used as needed!)  Most - but not all - of the patterns are my own design.


These are made with jellyroll strips but could be adapted to any assorted fabric remnants you have on hand.

Another bag from the same jellyroll, plus vintage button, upcycled snap and zipper


                                   Tote bag made with pre-cut strip pieced exterior/canvas interior


                                        Tried a little something with an old bandanna


From a $4 pair of thrift store jeans


The floral print is a favorite vintage piece.  All the zippers are upcycled.  


Another $4 pair of jeans


This is a favorite pattern of my own

zipper and yellow fabric are from estate sales, pink daisy fabric is from a fat quarter


Fabric remnants from thrift store above and below


fabric remnant from Etsy


fabric remnant from Marketplace (I was inspired by the "Daphne" bag from the show Frasier.) 

Had enough left over for this

 
Found this remnant in an antique mall, it's a real vintage piece. Zippers are upcycled, too.


fabric remnants from estate sale, upcycled zippers inside


All new fabrics here - just because sometimes you can't help it! 


Vintage fabric from estate sale plus upcycled zippers  (It's stuffed with fiberfill for the photo)


Friday, March 13, 2020

Sewing for Little Girls - Baby Ellie and Travel Case from Ruby Jean's Closet


I found THIS pattern on Etsy, (which is also available as Simplicity 1238) and knew it'd be a great way to use lots of cute quilting fabrics I have on hand.

I love totes, bags and cases (see my train case here, another fav!) so this appealed to me.  I confess I did buy the main fabric,  I couldn't help it, but all the rest is remnants I had on hand.
It is bigger than might appear in the photo, at a generous 13"x16"x5" (and about 3" deep) 


The inside is just TOO cute!
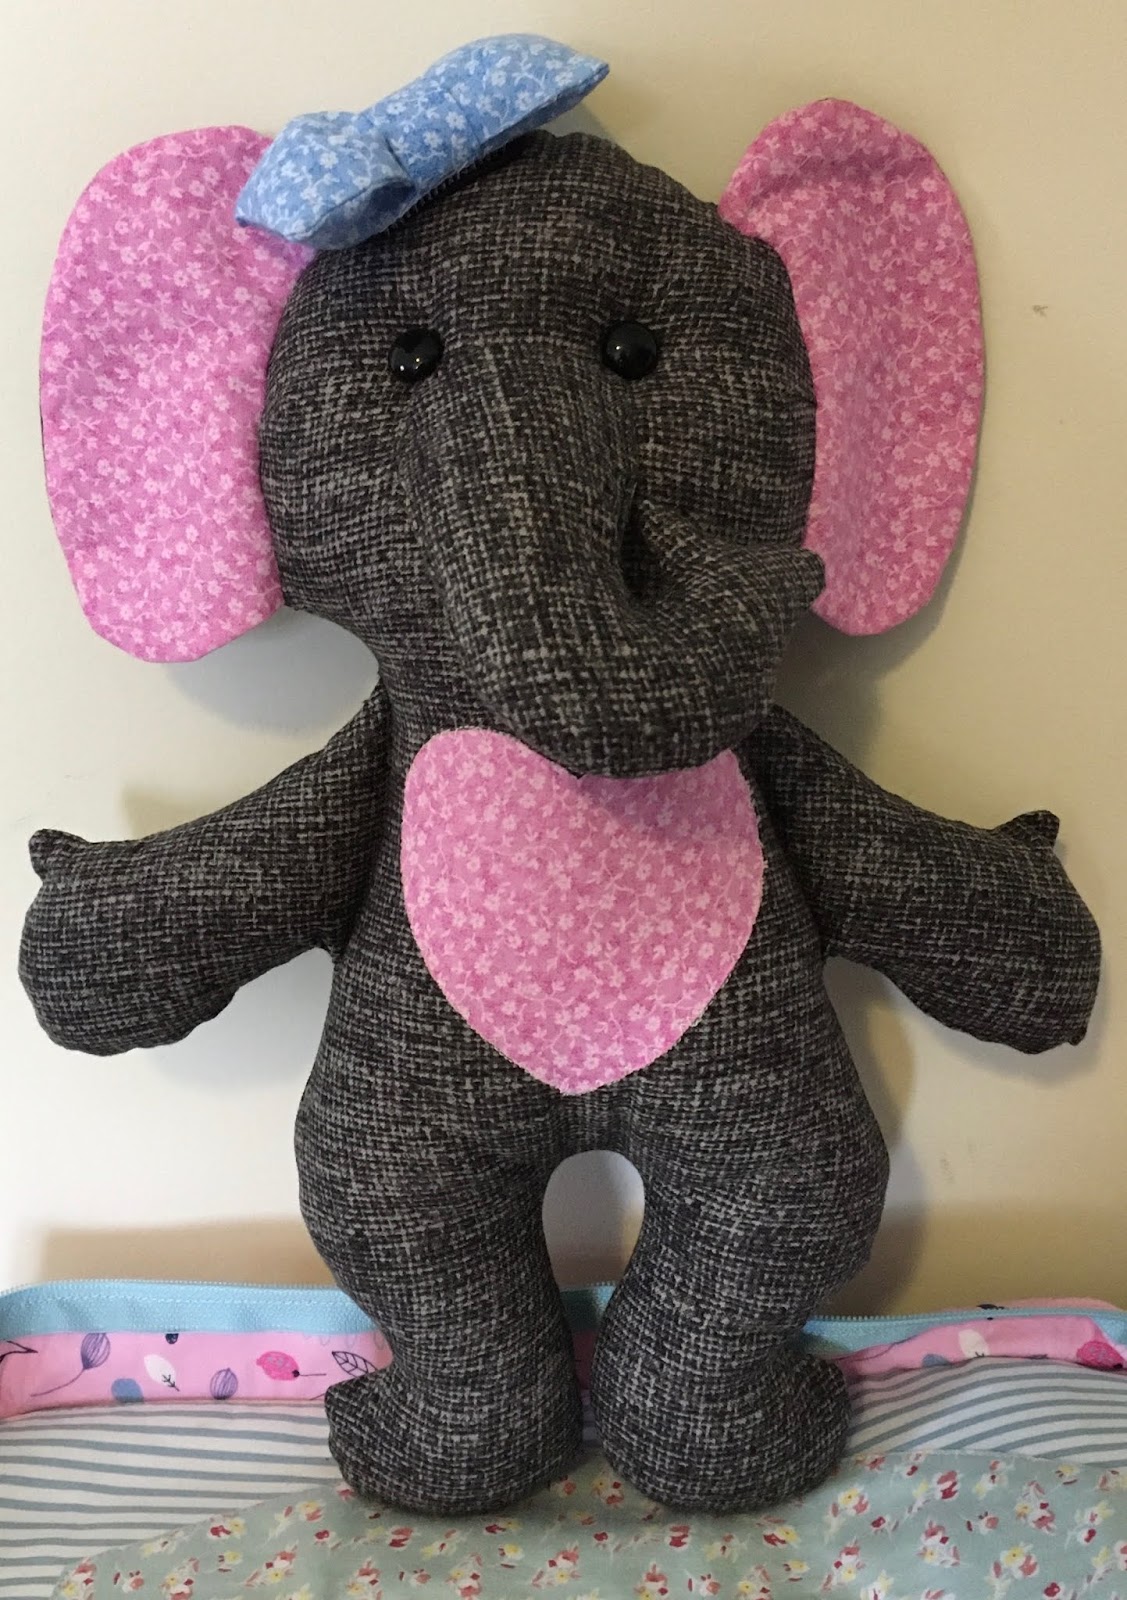
This is a little "bedroom" for a 12" stuffed elephant doll and her little clothes.  


 You can tuck the Baby Elephant into "bed" here


The pocket on the front of the "dresser" stores the little outfits 

12" Baby Elephant doll 


She was so cute, I made a "twin" sister for her!


Ruffled Panties

Also, little coveralls, and PJs


I found the adorable vintage bunny fabric at an estate sale, and made matching PJs for the 18" doll